Whether you want to experiment with longer locks or simply add fullness for a special event, clip-in hair extensions are an easy and affordable way to transform your look without long-term commitment. While they may seem simple to use, applying clip-ins takes some practice to achieve a natural, seamless finish. In this step-by-step hair guide, we'll cover everything you need to know to successfully clip in extensions like a pro stylist.
Preparing Your Hair
Proper preparation lays the foundation for clip-ins that blend in beautifully. A few days before applying extensions, clarify your hair to remove build-up from products. This allows the hair to be porous for the best grip. Then, deeply condition to replenish moisture stripped away. On the day of installation, shampoo as usual but skip conditioner which could impede clipping. This clean but nourished base is key.
Selecting Your Clip-Ins
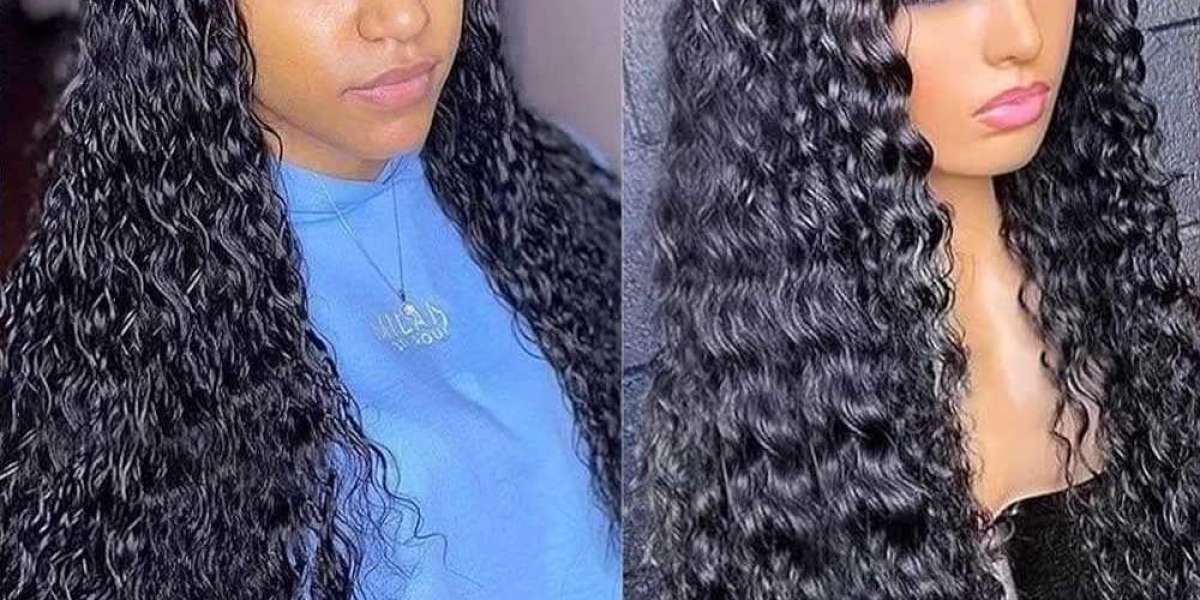
It's important to choose clip-ins that closely match your existing hair color and texture to prevent an obvious line of demarcation. Look for shades that are within one level of your natural hue for seamless blending. Synthetic or human hair can work depending on your hair type, with human hair offering heat styling flexibility. Order in 1-2 inch sections cut to your desired length.
Dividing and Prepping Sections
Start with dry, detangled hair clipped or pinned above the install area. Use a tail comb to cleanly part 1-inch wide sections stretching from hairline to nape. Make sure to leave at least one inch undivided at the top for clipping extensions high on the head later. This gives a more natural look than starting too low.
Teasing Hair at the Roots
Teasing each 1-inch section is key to providing volume and "grip" for the clips. Gently backcomb the roots with a rattail comb or fine-tooth rat tail brush, lifting the strands about 1/2 inch. Take care not to rip hair when teasing. Check that sections stay neat using horizontal parts - imperfections are harder to conceal onclipped extensions.
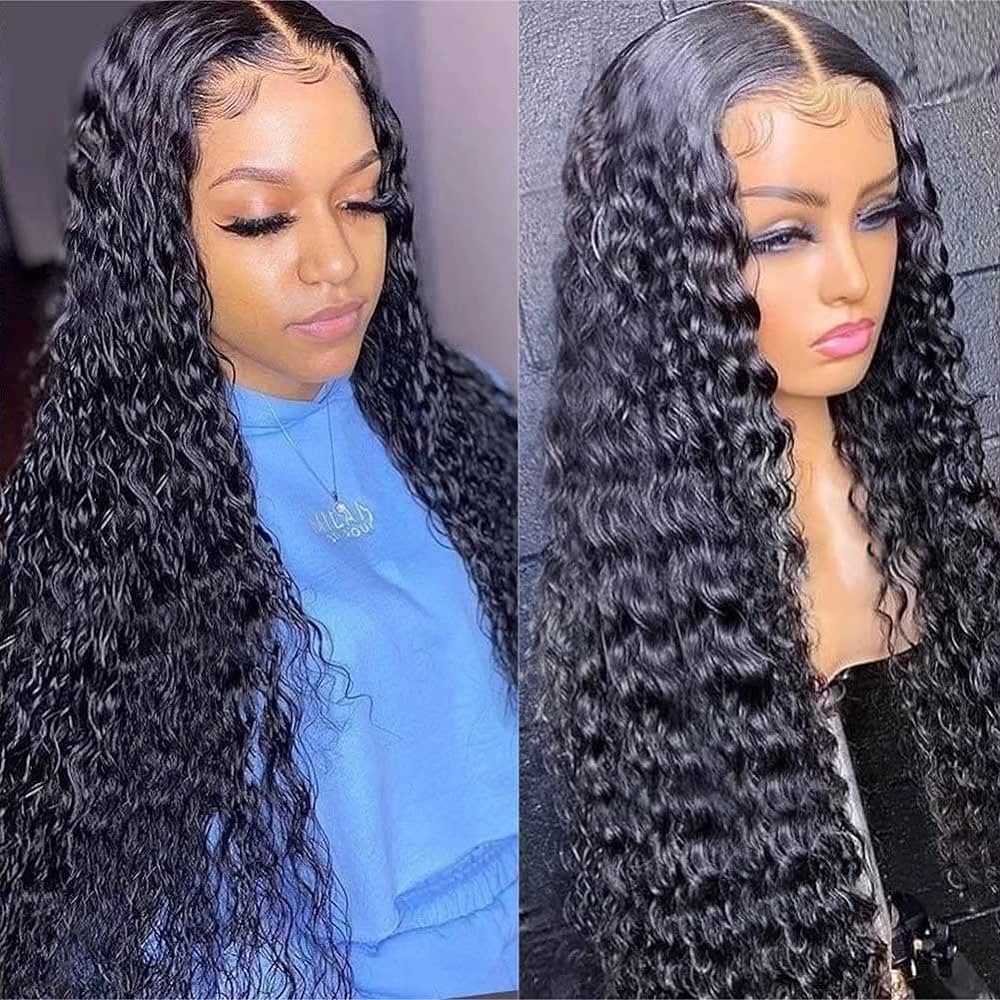
Clipping in the Wefts
Hold a clip weft so the spine lays flat against the teased roots. Position clips closer together near the hairline for a seamless blend as the extensions taper out. Press them closed firmly so they're fully sunken into hair volume without any gaps. Space each row about 1/4 inch apart going up the head. Gently brush hair down when finished clipping a section.
Blending and Finishing
Mist hair with a volumizing spray to blend roots, then blow dry while brushing with a rounded brush for body. Flat iron if needed, taking care not to scorch hair near clips by keeping the iron open slightly more than usual in these areas. Finish by misting lightly backcombed sections to blend away evidence of clips. Style as desired.
Tips for Success
Place a row of small clips across the part line for extra naturalism.
Hide clips in density by layering and texturizing shorter pieces like a real haircut.
Clip wefts diagonally across sections rather than straight down for flow.
Soften flyaways by misting a flexible hold hairspray onto the brush as you style.
Replace clips every 2-4 uses as they'll start to slip down over time.
With step-by-step hair guide, you'll become adept at skillfully clipping in extensions that make your hair look naturally full and fabulous. Mastering your technique takes trial and error - be gentle with your hair and don't get discouraged. Soon you'll be transforming your look in minutes like a pro stylist.